
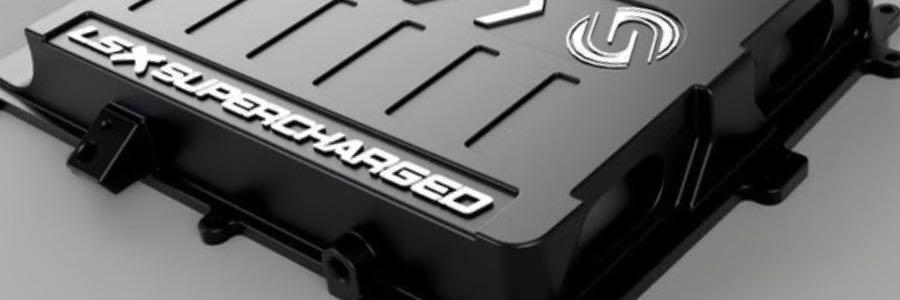
Designing a Supercharger Lid
When I set out to make a supercharger lid design, I originally thought my goal was to make more power, but it evolved into much more than that.
My first focus: Do not do worse than stock
I started to focus on this a lot. Now, this may sound like a coward's way to a design in which you are trying to sell a product, but I see it very differently. I see it as recognizing that a manufacturer who built and designed a car, they took the time, money, hours, you name it, to find the best results they could in the end. So, who am I to sit here and say, I know more? I have no place. But, I can try in other ways.
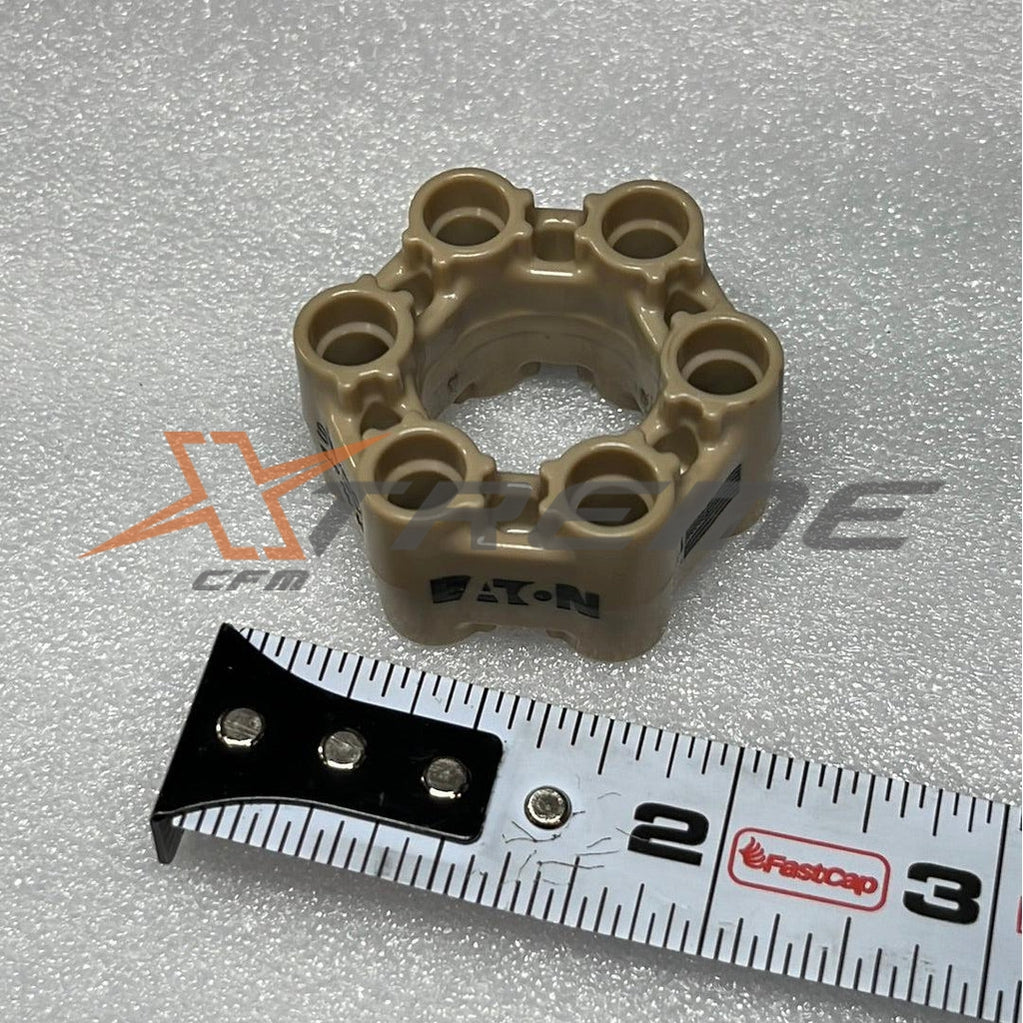
I already knew the LS9 lid worked magic. The dual intercooler brick design just dominated all of the single intercooler brick designed lids that the LSA built cars had to deal with. LS9 cars were making an easy 200 plus wheel over all of the LSA cars, and not just because of the rotor design, but because of their ability to remove heat from the air charge. If you ask for more airflow, and you are blocked by a limited source of direction, then you have nothing more. And the more you try and push through a limited source, the more heat you create. So actually, you are then trying to not only remove heat, but you are also creating more heat that then has to be removed. You are now moving backwards.
I was happy to hear and to report that independent testing from others, and ourselves, showed that in every test we did, we met or exceeded the OEM factory lid. On the chassis dynos from multiple shops, we found we saw the same airflow characteristics, airflow, and temps as the OEM lid. This is a good thing when you want to consider that an OEM has millions of dollars and hours into designing any part of a car. On the engine dyno, we found that the airflow was identical to the OEM airflow when measuring each cylinder runner as far as airflow distribution. As far as power, we didn’t lose any, but at the same time, we didn’t gain a ton. You know what, I am ok with that. I was fixated on the idea of that.
Second: Have a reason good enough to invest
In every industry, you are always going to find the same type of products produced over and over. They come in all different varieties and are labeled in various ways. If I am going to invest my time and money into something, I think I should have enough reason to see this through.
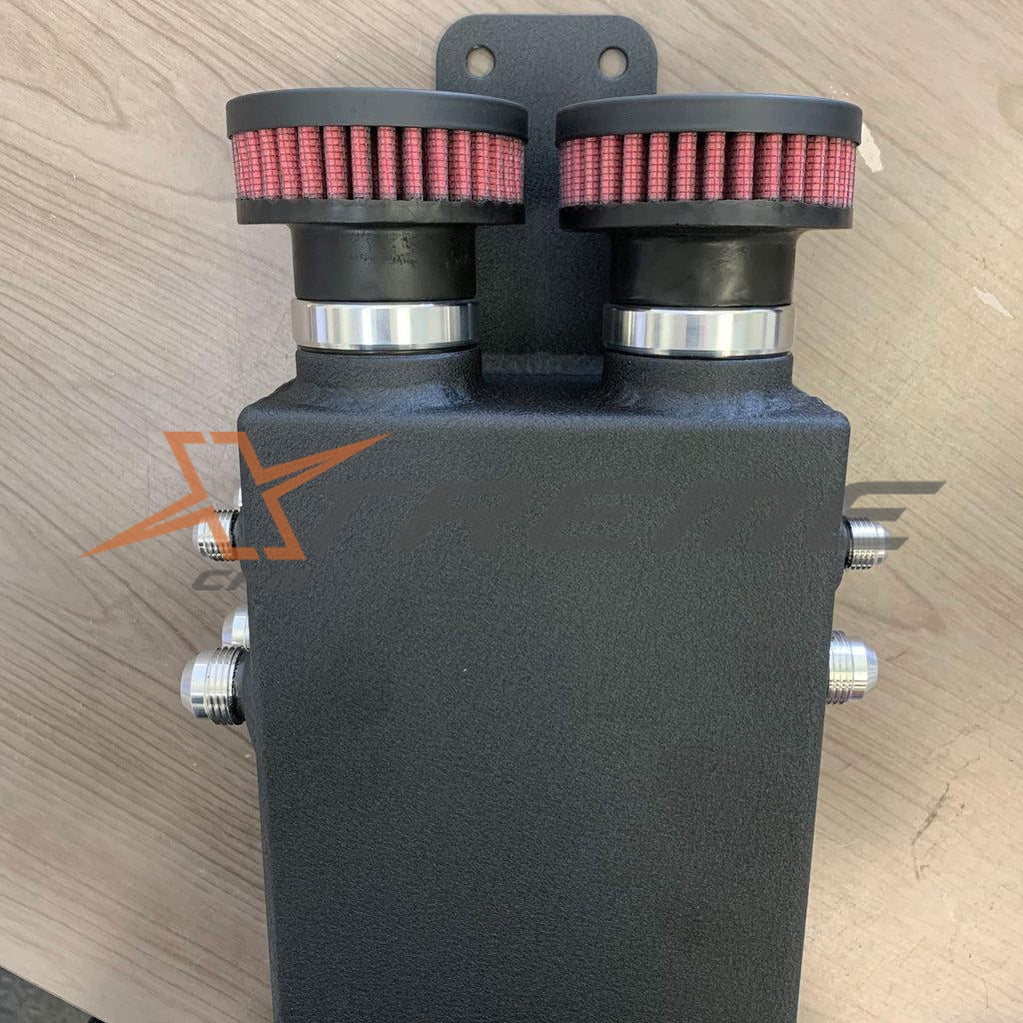
If we did not lose, and we at least matched the factory lid, which is known to work the best, then that just means we have room to play. We were able to start adding and making changes to the design to forward help the idea of creating a new supercharger lid. Things like multiple 1/8th NPT ports near the map sensor signal for anything you might want to add to your setup, multiple fuel pumps, gauges, etc. Then we have the four IAT sensor ports. Yes, I said four. On each side of the lid there are two IAT sensor ports. There are two because the stock sensor is a metric M14 port, but sometimes aftermarket systems require you to use a 3/8ths NPT style sensor. So why not have both? Keep in mind, this lid was designed to not only work on the LS9 blower, but on the LSA blower as well. So having ports on both sides helps the install of this.
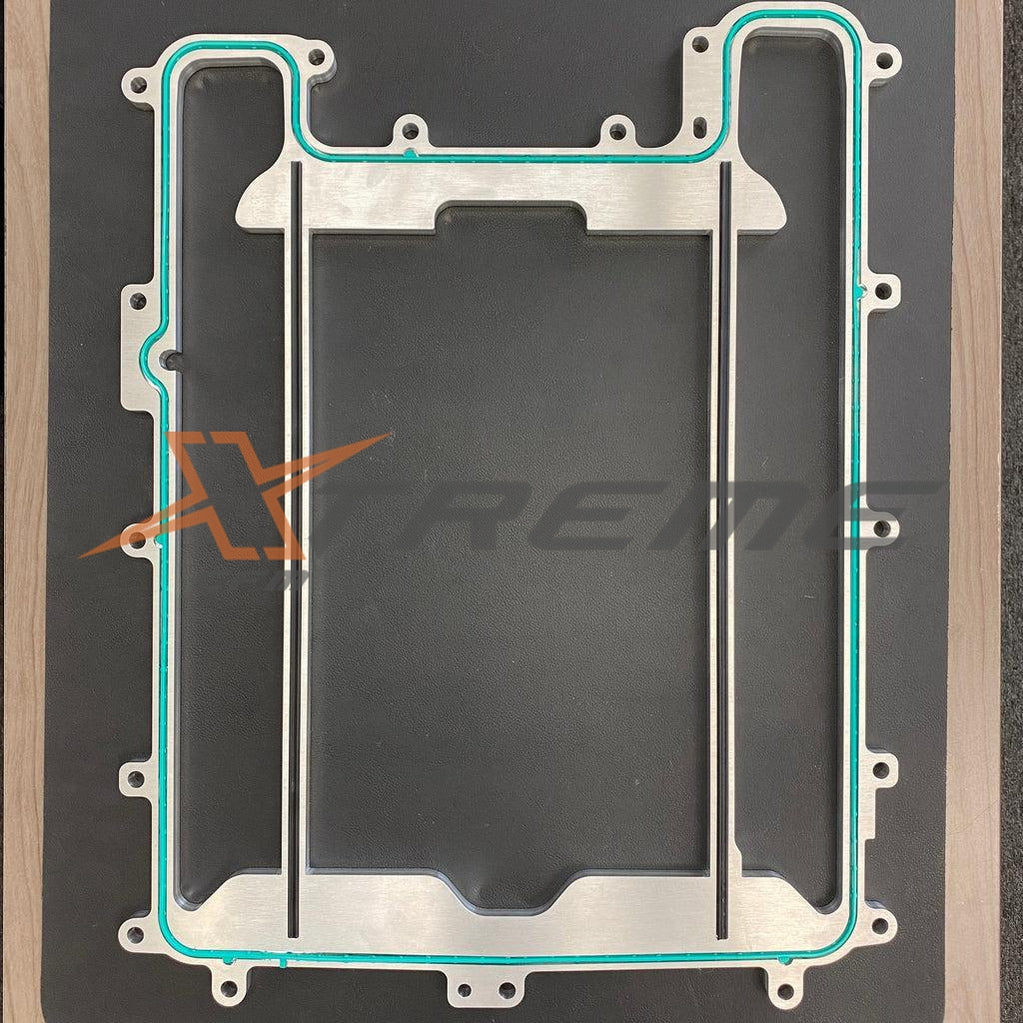
The other design change in this lid is that we moved the intercooler bricks 8mm outward to open up the discharge triangle. For years I have been porting blowers, and I have watched how air exits the triangle on the supercharger case. With some lid designs and dividers out there, you are only hurting the way airflow is leaving the supercharger case. Air does not do what you think it might when you first see it, so by opening up the discharge space, we allow air to move more freely in the space it needs.
Third: Try not to go overboard
Not only is it hard enough to try and make things work, but it's harder to make others love your work. Design is that factor. Do you go wild or do you go boring? I’ve never been an artist, so how am I going to come up with something that pleases others? I can only imagine a car manufacturer with every car they make. Sitting there, hours on hours, perfecting lines, curves, etc. It’s no easy task.
The OEM design has a slight slope from the back to the front moving downward. Knowing this is not optimal for a 5 Axis CNC as far as cost and time for machine run time, we decided to design the lid flat. This also increases the interior volume of the lid while creating an easy to design, uniform exterior. From here, we could create a design that would be simple, and also appealing to the eyes. Remember, the idea of not going overboard is all about playing within the lines of what is practical.
I went through many crazy complex designs for the face. We know that we all love the lettering of what the lid is along the outside, but what about the inside? At first, I was getting carried away with some round airflow type graphics, just way too much. My thought was that it symbolized air moving around the inside of the supercharger. Neat idea, just does not land well on paper. I tried to do wild polygon type patterns to make it look cool. In the end, I was not really happy with most of it. It was just too much, and that started to really resonate with me during all of this. The feeling of too much, was just what I needed actually. I really did not want our name or logo to over power the design as well. At some point, I even thought about leaving our logo off the entire design. Crazy right, to leave your own logo off of a product you went this far to make. So one night, after many of my friends and colleagues looked at all my crazy designs and gave their input, I just laid it out flat, and pictured the basis in which I felt the lid represented. Simplicity. Airflow moves in one path, and we respect that. Our logo is about respecting the process, and the arrows towards it, symbolizing the flow towards synergy.
Then came the finishes, we chose to do multiple in the end. At first, it was all about pure billet. Everyone likes pure billet. It’s shiny, it's cool, it's in your face, but everyone has different wants as far as how it looks in their engine bay. Playing around with designs, we found that offering the lid in billet, clear anodized, and black anodized with machined impressions was another crucial design key to this whole project. The truth is, I had no idea what anything other than billet would look like, and once they were done, I had a whole new love for the outcome. Billet gives you that raw aluminum look we all come to know when something comes off the CNC. It offers you bling and the ability to coat it however you like. The clear anodized is a very unique look. Taking pure aluminum and transforming it into a calm, yet classy metallic look that just looks great at all angles. I love this one the most personally. Then there is our black anodized lid, which follows the trend of a lot of our other parts to match. The lid is anodized black, followed up with a final CNC pass on the areas we want to stand out. Just pure sexy if you ask me. Having three versions of a lid was something we wanted more so for everyone. No one sees an engine bay the same way, so why should we limit them to only one style? To us, this was a big choice in how we did this.
Fourth: Hope It Fits and Hope it Works
Terrible right? Well, that's what you go through after you spent money on a few prototype pieces, waited the time it takes to have them manufactured, and then put the product to the test. The feeling I had when I took the first one out of the box and had to install all of the components then install it on the car. Nerve racking.
Fitment, oh man, the butt kicker of them all. Fourth stage of losing your mind is pretty much this one right here. You have something machined one way, then you find that you want it another way and so on. It never ends, and at some point, you just have to let it go and pick something, as long as that something sticks to what works versus what does not work. I have no issue admitting I’ve gotten my butt kicked with tiny details before. When you think you got it all figured out, and you stumble upon those little incorrect details, it really hits you. Only because, you want to feel like you thought of it all, but guess what, you just can’t.
So here I am, taking the first lid in my hands after the machinist is done with it, and just admiring it. Wow, it’s awesome. The hours I have in it, etc, all sitting in front of me. Then we find our first flaw. LOL. Oh man. Something as simple as an IAT sensor depth that comes close to an intercooler brick because it's not factory, it's aftermarket. So what do I do? Drill a new hole in our brand new lid. Yup, new hole, threads, you name it. Then we find a gasket groove is not quite what you needed it to be. Now we have to glue a gasket in place just to make sure it stays and then we can install it. By the time we are done fixing the tiny things I just could not see coming our way, we finally installed the lid on the car we are testing it on. The moment of truth.
What we did was set up multiple lids with bricks so we could side by side test all of them. We put the OEM stuff first, then with factory and aftermarket bricks. After that, we did our new lid with all the same stuff. Great part is we didn’t lose to the OEM lid in any department. Actually, we picked up a few Ft Lb of torque in the mid band of the dyno runs. But, I do not want to sit here and claim giant gains off something like that. In the end, I felt like we accomplished this portion of the design well.
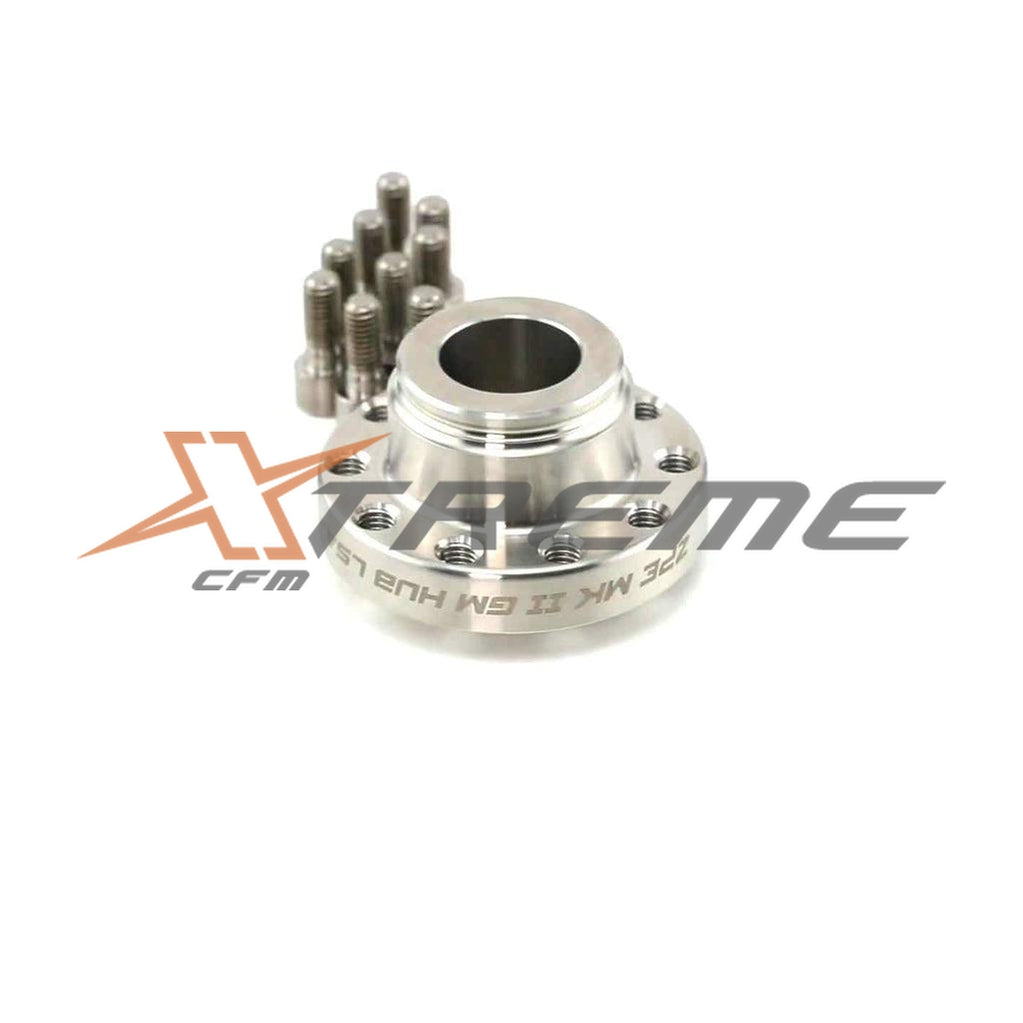
One thing I would like to add is that we made an LSA adapter plate, so that you can convert your single brick lid setup, to a high flowing, better cooling LS9 style setup like our lid. Even if you do not use our lid and you happen to have a used LS9 setup, our lid adapter will work for you. This is a great upgrade for a lot of guys.
Fifth: Learn Something New
Sometimes in the process of creating, you learn something you didn't think you would: parts used from the OEM, ways things were designed, etc. One random thing that just throws you for a loop, but in a good way.
What did I learn? Airflow is funny. In your head you can think it is doing something, and if you change a design, it should do better. You hope that your design comes close to an OEM that has the funds to back a part on an engine to make it the best. You design a new product that will accept the current parts that are out there, so that way others feel that their hard earned dollar in previous parts is not all wasted. I am going to design a product in which I am going to prevent customers from having to rebuy every part if not necessary.
Air temp sensors, this was the biggest learning experience out of this for me. Figuring out that the OEM uses an air temp sensor that is slow paced and very inaccurate was a big eye opener for me. By inaccurate, I am talking about how quickly the stock sensor reads and gives feedback, versus an upgraded fast rate IAT sensor. This really blew my mind, seeing what the actual supercharger temperature was versus all the times I was used to reading the stock, slow response sensor. Even sitting at idle, they were not even close. No wonder a lot of us fight inconsistencies. How could you not? So with this, we also decided that every one of our lids comes with an upgraded IAT fast response sensor. Best part about it, is that the tune parameters are identical. Meaning, no changes in your tune are needed to change over to the better sensor.
In Conclusion
I am pretty happy with it. I love the look of the lid in all three flavors. It fits all of the stock and aftermarket ls9 bricks out there. You can still use your water inlets from multiple vendors. You can use the setup on the LS9 or LSA supercharger cars. The lid gives you options. Any LS9 intercooler brick you have will work with the lid. It doesn’t do worse than the OEM lid or any of the other aftermarket lids, so we’re happy with it and we think that you will be too.


- Choosing a selection results in a full page refresh.